How To Build Solar Panels
As an Amazon Associate, I earn from qualifying purchases, at no additional cost to you. Disclaimer
I am thrilled to present a comprehensive guide on the fascinating art of building solar panels. In this article, I will share with you the step-by-step process of harnessing the power of the sun, enabling you to contribute to a greener and more sustainable future. From selecting the right materials to assembling the components, I will provide you with all the essential information you need to embark on this exciting and rewarding DIY project. So, let’s grab our tools and discover the wonders of solar energy together!
Understanding the Basics of Solar Energy
What is solar energy
Solar energy refers to the energy that is generated from the sunlight. It is a renewable and clean source of energy that can be harnessed and converted into electricity. Solar energy is abundant and freely available, making it a sustainable and environmentally friendly option for power generation.
How does solar energy work
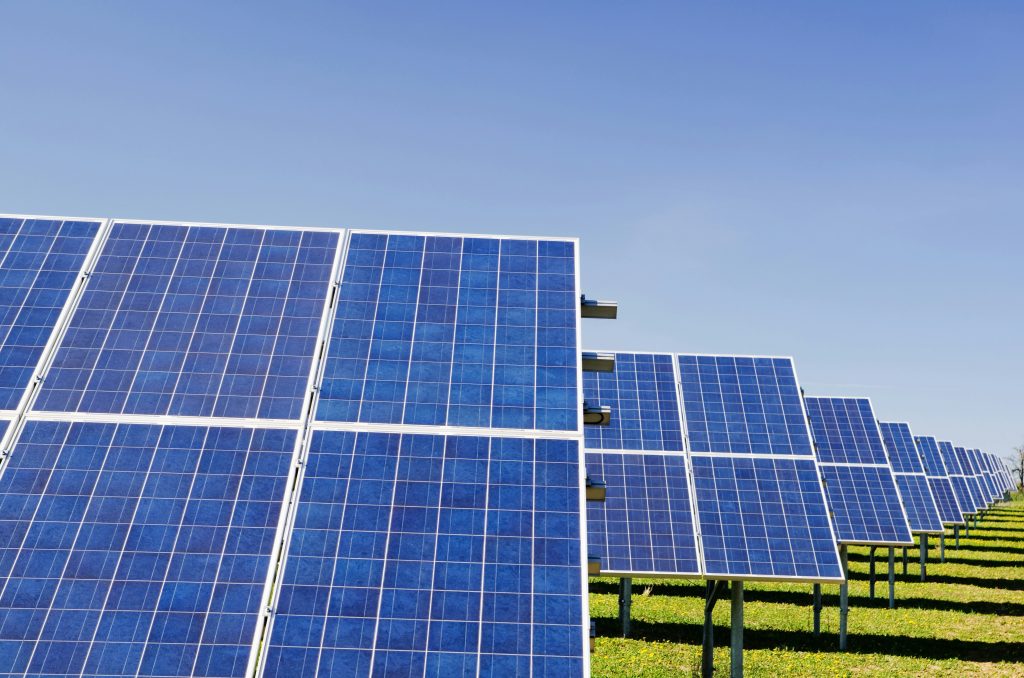
Solar energy is converted into usable electricity through the use of solar panels. These panels consist of photovoltaic cells that absorb sunlight and convert it into direct current (DC) electricity. The DC electricity is then converted into alternating current (AC) electricity using an inverter, which can be used to power electrical appliances and devices in homes and businesses.
Advantages and disadvantages of solar energy
Solar energy offers numerous advantages. It is a sustainable and renewable source of energy, which means that it does not deplete natural resources. Solar panels also reduce greenhouse gas emissions and help combat climate change. Additionally, solar energy can save money on electricity bills and provide energy independence.
However, there are also a few disadvantages to consider. Solar panels require a significant upfront investment and may not be suitable for every location, especially areas with limited sunlight. Maintenance and cleaning of solar panels are also necessary to ensure optimal performance. Despite these drawbacks, the benefits of solar energy generally outweigh the disadvantages.
Components of a Solar Panel
Photovoltaic cells
The most important component of a solar panel is the photovoltaic (PV) cells. These cells are responsible for converting sunlight into electricity. PV cells are typically made of silicon, a semiconductor material that can absorb photons from sunlight and release electrons, generating an electrical current.
Glass casing
The glass casing of a solar panel serves as a protective layer for the PV cells. It allows sunlight to pass through while shielding the cells from external elements such as dust, moisture, and physical damage. The glass used is usually tempered or coated to enhance durability and prevent reflection that might reduce the amount of sunlight reaching the cells.
Frame
The frame provides structural support and rigidity to the solar panel. It is typically made of aluminum or steel and is designed to withstand various weather conditions. The frame also allows for easy installation and mounting of the solar panel onto rooftops or other structures.
Backsheet
The backsheet is a thin layer of material placed on the backside of the solar panel. Its primary function is to protect the PV cells from moisture and electrical shock. The backsheet is usually made of a high-quality polymer or a combination of polymers to ensure long-term durability and insulation.
Junction Box
The junction box is located at the back of the solar panel and serves as a connection point for the PV cells. It contains diodes and wires that collect and distribute the electrical current generated by the cells. The junction box is crucial for proper wiring and connecting the solar panel to an electrical system.
Encapsulant
The encapsulant is a transparent adhesive that is applied to the front and back of the PV cells. Its purpose is to protect the cells from physical damage, moisture, and temperature fluctuations. The encapsulant also enhances the performance and lifespan of the cells by improving their optical properties and reducing the risk of oxidation.
Busbar and Fingers
Busbars and fingers are conductive strips that are used to collect and transfer the electricity generated by the PV cells. They are typically made of copper or silver, which have excellent electrical conductivity. Busbars are wider strips that carry the main current, while fingers are thinner and more numerous, allowing for improved current distribution across the cells.
Materials Required to Build Solar Panels
List of all required materials
To build a solar panel, you will need the following materials:
- Photovoltaic cells
- Glass sheets
- Aluminum or steel frame
- Backsheet material
- Junction box
- Encapsulant material
- Busbars and fingers
- Wiring
- Connectors
- Diodes
- Sealant or adhesive
Where to buy these materials
Solar panel materials can be purchased from various sources. You can find photovoltaic cells, junction boxes, and encapsulant materials from online retailers specializing in solar panel components. Glass sheets and aluminum or steel frames can be sourced from local hardware stores or specialized suppliers. It is recommended to research and compare prices from different suppliers to ensure quality and cost-effectiveness.
Cost estimation for these materials
the cost of materials required to build a solar panel can vary depending on factors such as size, quality, and brand. On average, the cost of materials for a small-scale solar panel can range from a few hundred to a few thousand dollars. It is essential to consider the long-term benefits and potential energy savings when evaluating the cost of materials.
Safety Measures for Building Solar Panels
Safety equipment needed
When building solar panels, it is crucial to prioritize safety. The following safety equipment should be used:
- Safety goggles or glasses to protect the eyes from debris and harmful chemicals
- Gloves to protect the hands from sharp edges and chemicals
- Dust mask or respirator to prevent inhalation of dust particles
- Protective clothing to prevent direct contact with hazardous materials
- Fire extinguisher in case of emergencies
- First aid kit for minor injuries
Safe working practices
To ensure safety while building solar panels, the following practices should be followed:
- Work in a well-ventilated area to minimize exposure to harmful fumes or dust.
- Handle materials and tools with care, avoiding sharp edges or rough surfaces.
- Avoid working alone, particularly when handling heavy or large components.
- Follow manufacturer guidelines and instructions during the assembly process.
- Keep the workspace clean and organized to prevent accidents or tripping hazards.
- Regularly inspect tools and equipment for any signs of damage or defects.
- Securely store hazardous materials and dispose of them properly according to local regulations.
Risks involved and how to mitigate them
Building solar panels involves some risks, such as cuts from sharp edges, exposure to chemicals, and electrical hazards. To mitigate these risks, it is essential to take the following precautions:
- Handle sharp objects and tools with care, wearing appropriate protective gear.
- Use chemicals and adhesives in well-ventilated areas and follow recommended safety guidelines.
- Disconnect all electrical connections and ensure the panel is not exposed to sunlight or other light sources during assembly to avoid electrical shock.
- Double-check wiring connections and use appropriate fuses or circuit breakers to prevent overloading.
- Educate yourself on electrical safety and seek professional assistance if needed.
Building the Solar Cells
Materials needed for solar cells
To build solar cells, the following materials are required:
- Photovoltaic cells
- Busbars and fingers
- Wiring
- Connectors
- Diodes
- Encapsulant material
Steps to assemble solar cells
- Lay out the photovoltaic cells on a flat surface, ensuring the positive and negative sides are properly aligned.
- Apply a thin layer of encapsulant material to the front of each cell, covering the entire surface.
- Carefully position and attach the busbars and fingers to the front of the cells using specialized adhesive or soldering techniques. Ensure proper electrical contact is made.
- Connect the busbars and fingers with wiring, forming a series or parallel configuration depending on the desired electrical output.
- Use connectors to secure the wiring connections and ensure a reliable electrical connection.
- Attach diodes to prevent reverse current flow and protect the cells from damage.
- Apply a layer of encapsulant material to the back of the cells, covering the wiring connections and diodes. Allow proper curing time as recommended by the manufacturer.
Connecting the cells together
To connect the solar cells together, the busbars and fingers are used to create electrical pathways. By connecting the positive side of one cell to the negative side of another, a series connection is formed. This arrangement increases the voltage output. Alternatively, connecting the positive side of one cell to the positive side of another, and the negative side to the negative side, creates a parallel connection. This configuration increases the current output. Proper wiring and electrical connections are essential to ensure optimal performance and efficiency of the solar panel.
Assembling the Solar Panel Frame
Choosing the right material for the frame
When assembling the solar panel frame, it is important to choose a material that is lightweight, durable, and corrosion-resistant. Aluminum and steel are commonly used materials due to their strength and ability to withstand various weather conditions. Aluminum frames are lighter and easier to handle, while steel frames offer superior strength and durability. Consider factors such as cost, availability, and specific installation requirements when selecting the frame material.
Size and dimensions of the frame
The size and dimensions of the solar panel frame depend on the number and size of the PV cells used. It should be large enough to accommodate all the cells while providing sufficient space for wiring connections and other components. Standard sizes for solar panels are typically 60-cell or 72-cell configurations, with dimensions ranging from approximately 39 x 65 inches to 39 x 77 inches. However, custom sizes and dimensions can be tailored to specific requirements.
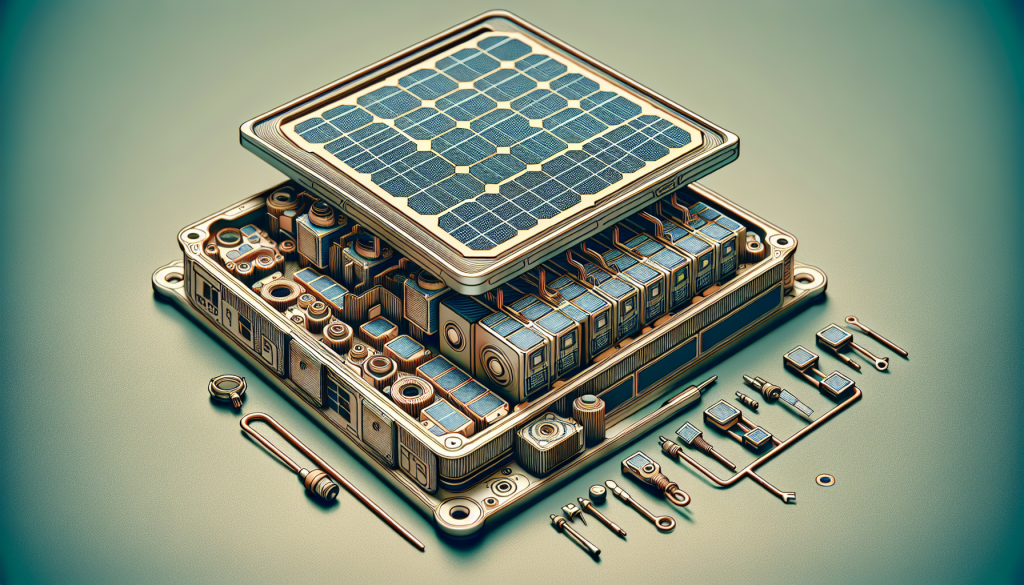
Mounting the solar cells onto the frame
To mount the solar cells onto the frame, follow these steps:
- Align the PV cells in the desired configuration on the frame, ensuring proper spacing between cells.
- Use adhesive or specialized mounting brackets to secure the cells to the frame. Ensure that each cell is securely attached to prevent movement or damage.
- Double-check the alignment and positioning of the cells before proceeding to the next step.
Installing the Glass Casing
Types of glass suitable for the casing
Several types of glass are suitable for the casing of solar panels. Common choices include tempered glass and coated glass. Tempered glass is heat-treated to enhance its strength and durability, making it resistant to breakage and thermal stress. Coated glass, such as anti-reflective or low-iron glass, can improve the transmittance of sunlight to the PV cells, increasing the overall efficiency of the panel. Choose glass that is specifically designed for solar applications and meets industry standards.
Fitting the glass onto the frame
To fit the glass casing onto the frame, follow these steps:
- Clean the frame and ensure it is free from any debris or sharp edges.
- Place the glass sheet carefully onto the frame, ensuring it aligns properly with the edges of the frame.
- Apply gentle pressure to ensure proper adhesion between the glass and frame.
- Use clamps or brackets to hold the glass in place while securing it to the frame.
- Double-check the alignment and ensure that the entire glass surface is properly attached to the frame without any gaps or loose areas.
Sealing the glass to the frame
To seal the glass to the frame and ensure proper waterproofing, use a suitable sealant or adhesive. Apply the sealant or adhesive around the edges of the frame, ensuring complete coverage and a tight seal. Follow the manufacturer’s instructions regarding curing time and application techniques. Proper sealing is essential to prevent moisture ingress, dust accumulation, and potential damage to the PV cells and other components of the solar panel.
Wiring the Solar Panel
Components required for wiring
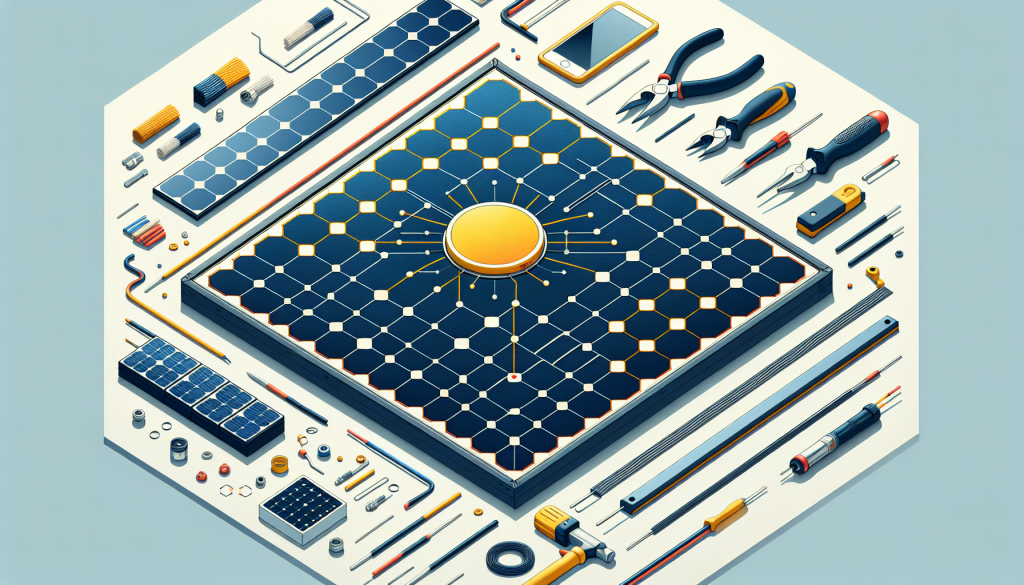
To wire the solar panel, the following components are required:
- Wiring cables
- Connectors
- Diodes
- Junction box
Correct wiring techniques
To wire the solar panel correctly, follow these techniques:
- Connect the positive and negative terminals of each photovoltaic cell by using wiring cables and connectors as per the desired series or parallel configuration.
- Install diodes in line with the wiring to prevent reverse current flow and protect the cells from damage.
- Route the wiring cables through the frame or use cable channels to ensure a tidy and organized setup.
- Connect the wiring cables to the junction box, ensuring proper insulation and secure connections.
- Follow proper polarity and labeling techniques to avoid confusion during installation and maintenance.
Testing the wiring for accuracy
Before connecting the solar panel to the electrical system, it is essential to test the wiring for accuracy. Use a multimeter or a suitable testing device to verify the connectivity and electrical output from the solar cells. Check for any loose connections, faulty diodes, or potential shorts in the wiring. Testing the wiring ensures that the solar panel is functioning correctly and will provide the expected electrical output once installed.
Installing the Solar Panel
Choosing the optimal location for installation
When installing a solar panel, consider the following factors to choose the optimal location:
- Amount of sunlight available: Choose an area that receives maximum sunlight exposure throughout the day, free from shading caused by trees or buildings.
- Roof orientation: South-facing roofs generally receive the most sunlight in the northern hemisphere, while north-facing roofs are preferred in the southern hemisphere.
- Roof slope: The angle of the roof should be adjusted to optimize solar panel performance based on the geographical location.
- Structural integrity: Ensure that the installation area can safely support the weight of the solar panel and withstand any environmental conditions such as wind or snow loads.
Mounting the solar panel
To mount the solar panel, the following steps can be followed:
- Set up the necessary mounting brackets or racks on the chosen location, ensuring they are securely fastened to the structure.
- Carefully lift and place the solar panel onto the mounting brackets or racks, ensuring proper alignment and positioning.
- Secure the solar panel to the brackets or racks using appropriate fasteners. Ensure the panel is level and fixed securely in place.
- Double-check the stability and alignment of the solar panel to prevent any potential movement or damage.
Ensuring the panel is safely secured
To ensure the solar panel is safely secured, perform the following checks:
- Test the stability of the mounting brackets or racks and the fasteners used to fix the panel.
- Ensure the solar panel is not susceptible to movement caused by strong winds or other environmental factors.
- Regularly inspect the mounting system, especially after severe weather conditions, to detect any signs of damage or loosening.
- Consult with professionals or follow local industry guidelines to ensure proper installation and compliance with safety standards.
Maintaining Your Solar Panels
Tips for routine maintenance
To maintain your solar panels and ensure their optimum performance, consider the following tips:
- Regularly inspect the solar panels for any signs of physical damage, such as cracks, chips, or loose connections.
- Clean the solar panels periodically to remove dust, pollen, and other debris that may accumulate on the surface. Use a soft cloth or sponge with a mild detergent solution and rinse with clean water.
- Trim any nearby vegetation or trees that may cast shadows on the solar panels and reduce their efficiency.
- Monitor the electrical output of the solar panels using a monitoring system or an inverter’s built-in monitoring function. Identify and troubleshoot any significant deviations or issues promptly.
- Keep a record of maintenance activities, including cleaning dates, inspections, and any repairs performed.
Common issues and how to troubleshoot them
Solar panels may encounter certain issues that can impact their performance. Here are some common issues and potential troubleshooting steps:
- Decreased electrical output: Check for shading, dirt buildup on the surface, or loose connections. Clean the panels and ensure proper wiring and connectivity.
- Physical damage: Inspect the panels for any cracks, chips, or other physical damage. Replace or repair the affected components as necessary.
- Inverter issues: If the solar panel output is significantly lower than expected, check the inverter for faults. Consult the manufacturer’s manual or seek professional assistance to resolve any inverter-related issues.
- Electrical faults: Inspect the wiring, junction box, and connectors for any loose connections, damaged cables, or faulty diodes. Repair or replace the affected components to restore functionality.
Ensuring optimum performance of your solar panel over time
To ensure the long-term performance of your solar panel, consider the following practices:
- Regularly monitor the electrical output of the solar panel to identify any significant variations or declines in performance.
- Conduct routine inspections and cleaning to maintain the efficiency of the panels.
- Keep informed about advancements in solar panel technology and consider upgrading or optimizing your solar panel system if necessary.
- Stay informed about any applicable government incentives or rebates for solar panel owners.
- Engage with professional solar panel installers or manufacturers for troubleshooting, repairs, or upgrades if needed.
In conclusion, building a solar panel involves understanding basic concepts, selecting the right materials, following safety measures, assembling the components, and installing and maintaining the panel properly. By harnessing the power of solar energy, individuals can contribute to a sustainable and cleaner future while potentially saving on electricity costs and reducing carbon emissions.

